In dental practices, water bottles are essential for maintaining hygiene and optimal patient care. However, leaks can disrupt workflow and compromise service quality. In fact, a recent study revealed that over 30% of dental professionals reported encountering issues with leaking dental water bottles. Learning how to troubleshoot a leaking dental water bottle can save time and resources while enhancing patient safety.
Common causes of leaks often include worn-out seals, cracks, or improper assembly. Investigating these issues is crucial for ensuring that equipment performs optimally. It’s important to approach repairs with a clear strategy, as neglecting minor leaks can lead to larger, costlier fixes down the line.
By following simple steps outlined in this guide, dental professionals can effectively address leaks and maintain a reliable water supply. Investing time in understanding how to fix a leaking dental water bottle contributes to the overall efficiency of a dental practice and reflects a commitment to providing high-quality care.
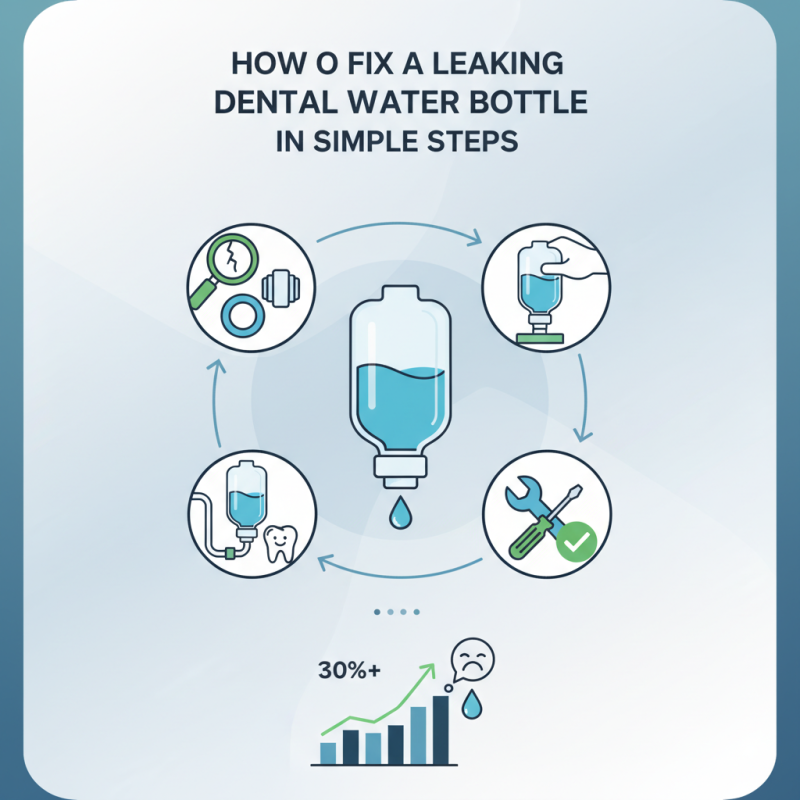
Assessing the type of leak in your dental water bottle is crucial for efficient repairs. A 2022 report from the Journal of Dental Hygiene highlighted that improper maintenance of dental tools could lead to water contamination. Clean dental water bottles must prevent leaks to maintain hygiene standards.
Leaks can stem from various sources. Evaluate the cap seal first. A loose or damaged cap is often the culprit behind minor leaks. Replace the cap if necessary. Next, check the bottle body for cracks. Even small fractures can allow water to seep out. According to the American Dental Association, 30% of dental professionals experience equipment failures due to overlooked maintenance.
Pay attention to the spout as well. Some designs may wear down over time, resulting in drips. If you notice consistent dripping, it is likely time to consider a replacement. Reflecting on repair experiences can reveal overlooked signs. Gathering feedback from peers could help identify effective strategies and common pitfalls. Regular assessments not only enhance performance but also ensure patient safety.
When repairing a leaking dental water bottle, gathering the right tools and materials is essential. Start by collecting a silicone sealant to address minor leaks. This flexible material is highly effective and creates a long-lasting seal. It is also waterproof and can withstand regular cleaning. A pair of scissors or a utility knife is necessary to prepare the bottle’s surface for effective adhesion. Make sure to have a clean cloth or paper towel for wiping any excess sealant.
According to industry reports, water bottle leaks can reduce the efficiency of dental equipment by 20%. This inefficiency not only wastes water but can also lead to larger maintenance issues. It is advisable to use high-quality gaskets or O-rings that match your specific model. These components can wear down over time, hence replacing them may resolve persistent issues. Despite best efforts, some leaks may still occur after repairs. This indicates a need for a careful reassessment of the bottle’s condition. Regular check-ups can prevent future leaks and ensure optimal performance.
When dealing with a leaking dental water bottle, cleanliness is crucial. Before you attempt any repair, clean the affected area thoroughly. Use warm soapy water to wash the surface around the leak. This removes debris and residue, ensuring a secure bond during repair. Rinse with clean water and dry completely.
Tips for cleaning: Use a soft cloth or sponge to avoid scratching the bottle. Ensure that no soap remains, as it may interfere with the sealing process.
After cleaning, inspect the bottle closely. Look for cracks or holes that might have caused the leak. This is an opportunity to refine your repair skills. If you find a small crack, apply a suitable patch or sealant designed for plastic. Follow the instructions on the chosen product carefully.
Remember: taking the time to clean and inspect can prevent future leaks. Frequent checks can enhance the durability of your dental water bottle. Be mindful of your repair process; learn from any challenges faced. This attention to detail leads to better outcomes.
A leaking dental water bottle can be frustrating. The first step is to identify the source of the leak. Inspect the bottle thoroughly, focusing on seams and lid areas. Often, small cracks or worn-out seals may be the culprits. Once located, it’s time to consider fixing it.
Using an appropriate sealant is key. Look for non-toxic options that are waterproof and flexible. A silicone-based sealant works well for plastics. Clean the area around the leak with rubbing alcohol to ensure that the sealant adheres properly. Apply a small amount of the sealant over the crack or hole. Press gently to ensure it fills the space. Let it cure as per the instructions.
Sometimes, a patch may be necessary for larger leaks. You can use a piece of durable plastic, cut to size. Secure the patch over the leak using the same sealant. Ensure it’s watertight. While these methods can be effective, remember that they are not foolproof. Regularly inspect the bottle after repairs for new leaks or issues. This proactive approach helps maintain the integrity of your dental water bottle.
After repairing a leaking dental water bottle, testing its effectiveness is crucial. Start by filling the bottle with water and gently tightening the lid. This simple step helps identify any persistent leaks. Observe closely for any drips or moisture around the seams. If everything looks dry, you’re on the right track.
Next, shake the bottle lightly while holding it over a sink. This motion can reveal hidden leaks that might not have shown up during the initial inspection. Don't be disheartened if a small leak still appears; adjustments can often be made. Consider reapplying sealant or replacing the cap. A reliable bottle should be able to withstand some pressure without leaking.
It’s beneficial to leave the bottle filled with water for an extended period, like an hour or two, to monitor its performance. This longer test simulates actual use and ensures no slow leaks develop over time. If leaks occur, review your repair steps. Reflect on your materials and techniques. Sometimes, the simplest repairs require reassessment to achieve reliability. A well-tested bottle will serve you better and provide peace of mind.
: Clean the affected area thoroughly with warm soapy water. Rinse and dry completely.
Use a soft cloth or sponge. Avoid scratching the bottle's surface.
Look for cracks or holes that might be causing the leak.
Choose a non-toxic, waterproof, and flexible sealant, like silicone-based.
Clean the area with rubbing alcohol. Apply the sealant over the leak and press gently.
Cut a piece of durable plastic to size and secure it with sealant. Ensure it's watertight.
Perform frequent checks on your bottle. Inspect for new leaks or damage regularly.
Repairs aren’t always foolproof. Reflect on what went wrong and adjust your methods.
Cleanliness ensures a secure bond during repair, preventing further issues later.
Yes, every challenge is an opportunity to refine your repair skills and methods.
When faced with the issue of a leaking dental water bottle, it’s essential to know how to troubleshoot a leaking dental water bottle effectively. Begin by assessing the type of leak to determine the best approach for repair. Once you identify the leak, gather all necessary tools and materials, ensuring you have everything on hand to make the process smooth.
Before commencing any repairs, thoroughly clean the affected area to ensure proper adherence of the sealant. After preparing the surface, apply the appropriate sealant or patch to fix the leak securely. Finally, test the bottle to verify the effectiveness of the repair. Following these simple steps can help restore your dental water bottle to full functionality, saving you from replacing it entirely.

Barclay Medical