The demand for portable dental units has surged, particularly due to the growing trend of mobile dentistry. According to a 2022 report by the Dental Trade Alliance, nearly 60% of dental practitioners are exploring home visit options to enhance patient care. Installation of a portable dental unit can significantly improve accessibility for patients who may struggle to visit traditional practices.
Dr. Emily Chen, a leading expert in mobile dental services, emphasizes, “Understanding how to install a portable dental unit for home visits is crucial for ensuring proper functionality and patient safety.” Many practitioners face challenges during installation. Common pitfalls include improper plumbing setup and insufficient electrical supply, which can hinder performance.
Attention to detail is essential in this setup. Practicing professionals must be cautious of specific requirements for different devices. Thorough research and planning can lead to a smoother installation experience. Being prepared for unexpected issues can make all the difference in providing effective dental care at home.
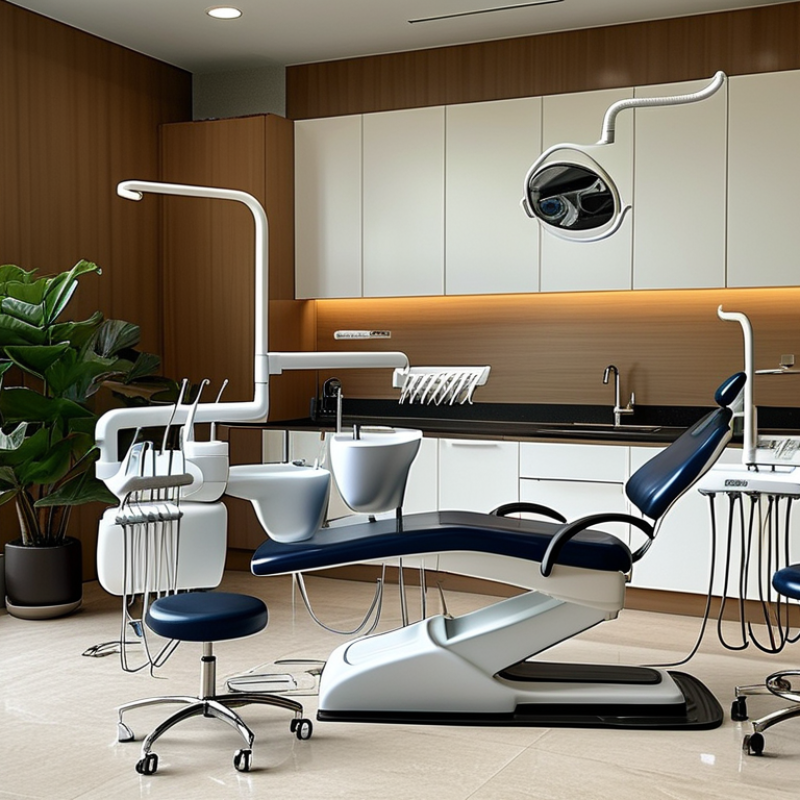
Choosing the right location for your portable dental unit can greatly impact your experience. A well-chosen space ensures easy access and a comfortable setup. Look for a location with adequate lighting. Natural light is ideal, but bright artificial lights work too. Ensure the area is free from distractions to maintain focus during procedures. It's also wise to have a sturdy, level surface for your unit.
Consider proximity to essential utilities. A nearby water source is crucial for rinsing and cleaning. An electrical outlet is also necessary for your unit. Ensure you have enough space to move freely around the unit. Tight spaces can create stress during procedures, affecting performance and safety.
Evaluate your patient’s comfort too. A welcoming environment makes the experience less intimidating. Remember, the layout should prioritize both functionality and patient relaxation. You might find your chosen location needs adjustments over time. Reflect on what works and what doesn’t, aiming to create the perfect setup for future sessions.
Installing a portable dental unit at home requires careful planning and the right tools. Start by gathering essential equipment. You will need a reliable dental chair, a portable suction unit, and an air compressor. A reliable water supply is also crucial. Don’t forget about the handpieces and sterilization materials. Each item plays a vital role in effective dental care.
Create a checklist before beginning. This helps avoid missing important pieces. Additionally, consider the layout of your space. It should allow for easy movement and accessibility. Be prepared to adapt your plan based on what you find during the installation. Mistakes can happen, and it’s essential to troubleshoot as you go. Some tools might not fit perfectly or could malfunction during setup. This is an opportunity to reflect on your process and adjust accordingly.
Consider potential challenges along the way. For example, ensure the electrical outlets can support all units. Inspect your water connections for leaks. If issues arise, don’t hesitate to consult an expert. Their advice can provide valuable insights. Even with preparation, things may not go as planned. Learning through experience is key in achieving a functional setup.
Setting up a portable dental unit at home can empower individuals to maintain oral hygiene effectively. To do this, begin by selecting an appropriate location. The area should be well-lit and have access to water. A stable, flat surface will help minimize any risk of accidents. According to a survey by the American Dental Association, proper setup significantly reduces the chances of equipment failure during use, ensuring a safer environment.
Next, unpack your dental unit carefully. Check each component against the user manual to ensure everything is present. Keep your workspace organized to avoid misplacing small parts. Research indicates that nearly 25% of users face complications due to improper assembly. Being meticulous at this stage can save time and frustration later.
Once you've assembled the unit, connect it to the power supply and water source, if applicable. Testing all functions is crucial. Many overlook this step, leading to unexpected issues during procedures. Remember, ventilation in the room is essential to reduce contaminants. Regular checks and maintenance of your unit are necessary for optimal performance. Inadequate care can result in a decline in hygiene efficacy, which is counterproductive.
This bar chart illustrates the effectiveness of various tips for setting up a portable dental unit at home based on user feedback.
When setting up a portable dental unit at home, it's crucial to focus on connecting and testing both water and electrical supplies. Start by locating a suitable area for the unit. Ensure the space is clean and has sufficient room for maneuvering equipment. Check local regulations regarding the installation of dental equipment in residential areas. Understanding these rules can help avoid future complications.
Next, connect the water supply to the unit. Use high-quality hoses to prevent leaks. It’s essential to ensure that the water pressure is adequate. A pressure gauge can help evaluate this before connecting. Once the water line is secure, run a test to check for any leaks. This step is vital to avoid unexpected messes during dental procedures.
Regarding electrical connections, make sure to use a dedicated circuit. This prevents overloads that could damage the equipment. Test outlets with a voltage meter to confirm they meet the unit’s requirements. If unsure how to proceed, seeking the help of a qualified electrician is wise. Having professional input adds confidence to your setup and prevents future issues.
Maintaining your portable dental unit is crucial for optimal performance. Regular checks on the unit’s components can prevent issues. Ensure that water lines are clean and free from blockages. This process can help in delivering safe and effective patient care. Utilize distilled water to minimize mineral buildup.
Routine maintenance should include inspecting the handpieces. Check for any wear and tear. Over time, handpieces may lose efficiency. Lubricate them according to the manufacturer's guidelines. This attention to detail can greatly enhance their lifespan.
Don’t overlook the power supply and battery. Ensure they are functioning correctly. A weak battery can lead to interruptions during use. Periodically test the power source to ensure reliability. These practices can help in achieving a seamless dental experience at home.
| Tip | Description | Frequency of Maintenance | Estimated Time Required |
|---|---|---|---|
| Choose the Right Location | Select a spacious, well-lit area with access to power. | Before Installation | 10 minutes |
| Check for Compatibility | Ensure the dental unit is compatible with existing equipment. | Before Installation | 15 minutes |
| Follow Manufacturer Instructions | Carefully read and adhere to the installation manual provided. | During Installation | Varies |
| Regularly Clean and Sanitize | Keep all surfaces and tools clean to prevent infection. | Daily | 15 minutes |
| Perform Regular Maintenance Checks | Inspect the unit for any potential issues or wear. | Monthly | 30 minutes |
: Look for good lighting, a stable surface, and minimal distractions.
A welcoming environment helps make procedures less intimidating for patients.
Essential tools include a dental chair, portable suction unit, air compressor, and sterilization materials.
A checklist prevents missing important items and ensures a smoother setup process.
Tools might not fit perfectly, or connections could leak. Troubleshooting is essential.
Proper assembly and testing all functions are critical to avoid issues.
Consult an expert for advice and adjust your plans as needed.
Good ventilation reduces contaminants, maintaining a safe environment during procedures.
Regular checks and cleaning are vital to ensure optimal performance and hygiene.
Reflect on what doesn’t work and make adjustments for future sessions.
When considering how to install a portable dental unit for home visits, the first step is choosing an appropriate location that allows for easy access to water and electricity while ensuring patient comfort. Preparing the space is crucial, so gathering essential tools and equipment before installation can streamline the process.
Once the setup area is ready, a step-by-step guide to assembling the dental unit will help avoid common pitfalls. It's important to connect and test the water and electrical supplies to ensure everything functions correctly. Regular maintenance of your portable dental unit will also be vital for optimal performance, ensuring that you can provide high-quality care during home visits. Following these tips will make your experience efficient and effective.
Barclay Medical